


Welcome to Part 2 of this tutorial! Now that you've gone through Part 1, it means you have an understanding of how Docusaurus works, and you're ready to get started on creating a new project. In this part of the tutorial, we will guide you through the process of setting up the development environment for Docusaurus on your machine. Then we will proceed to create a new Docusaurus project using the command-line interface (CLI). Finally, we will explore the newly created project's structure. By the end of this part, you will have a new Docusaurus project ready for you to customize and add content to. Let's roll up our sleeves and get started!
Prerequisites
No prior knowledge is required for this tutorial, but it'll be easier to follow if you are comfortable using the CLI. To run Docusaurus on your machine, the following are required:
Node.js
npm
To install Node.js and npm, follow these steps:
Visit the official Node.js website (nodejs.org) and download the appropriate installer for your operating system.
Run the installer and follow the instructions to complete the installation process.
Once Node.js is installed, open up your CLI and run
node -vto check if Node.js is properly installed. You should see the version displayed.Similarly, run
npm -vto check if npm is installed. This command should display the version of npm you have installed.

After successfully installing Node.js and npm, you can proceed to create your Docusaurus project.
Creating a new Docusaurus project
To create a new Docusaurus project, follow these steps:
Initialize a new Docusaurus project: From your CLI, navigate to the directory where you want to create your Docusaurus project. Run the following command to initialize a new Docusaurus project:
npx create-docusaurus@latest my-docs classicThe above command will generate a new Docusaurus project template named "my-docs" which will use the "classic" theme. It will then proceed to install the required dependencies specified in the project's
package.jsonfile. Feel free to replace "my-docs" with the desired name for your project, and "classic" with your preferred template.Alternatively, you can also initialize a new Docusaurus project using npm or yarn by running
npm init docusaurusoryarn create docusaurus.Using this method, you will be prompted to install
create-docusaurus@latest. After proceeding, you will be prompted to fill in details on your project, such as the project name, and the project template (theme). You can also decide to choose a TypeScript variant of the project template. Once you're done, it will proceed to install the necessary dependencies.
Once the project initialization is complete, navigate into the project directory by running
cd my-docs. Confirm that you have Docusaurus installed by runningnpx docusaurus --version.
Verify the setup by running a local development server. Run
npm run start
If you used yarn as your project manager, run
yarn run start. This will start the local development server, and you can access your Docusaurus project athttp://localhost:3000. Click on the provided URL, it'll take you to the local server which should look like this: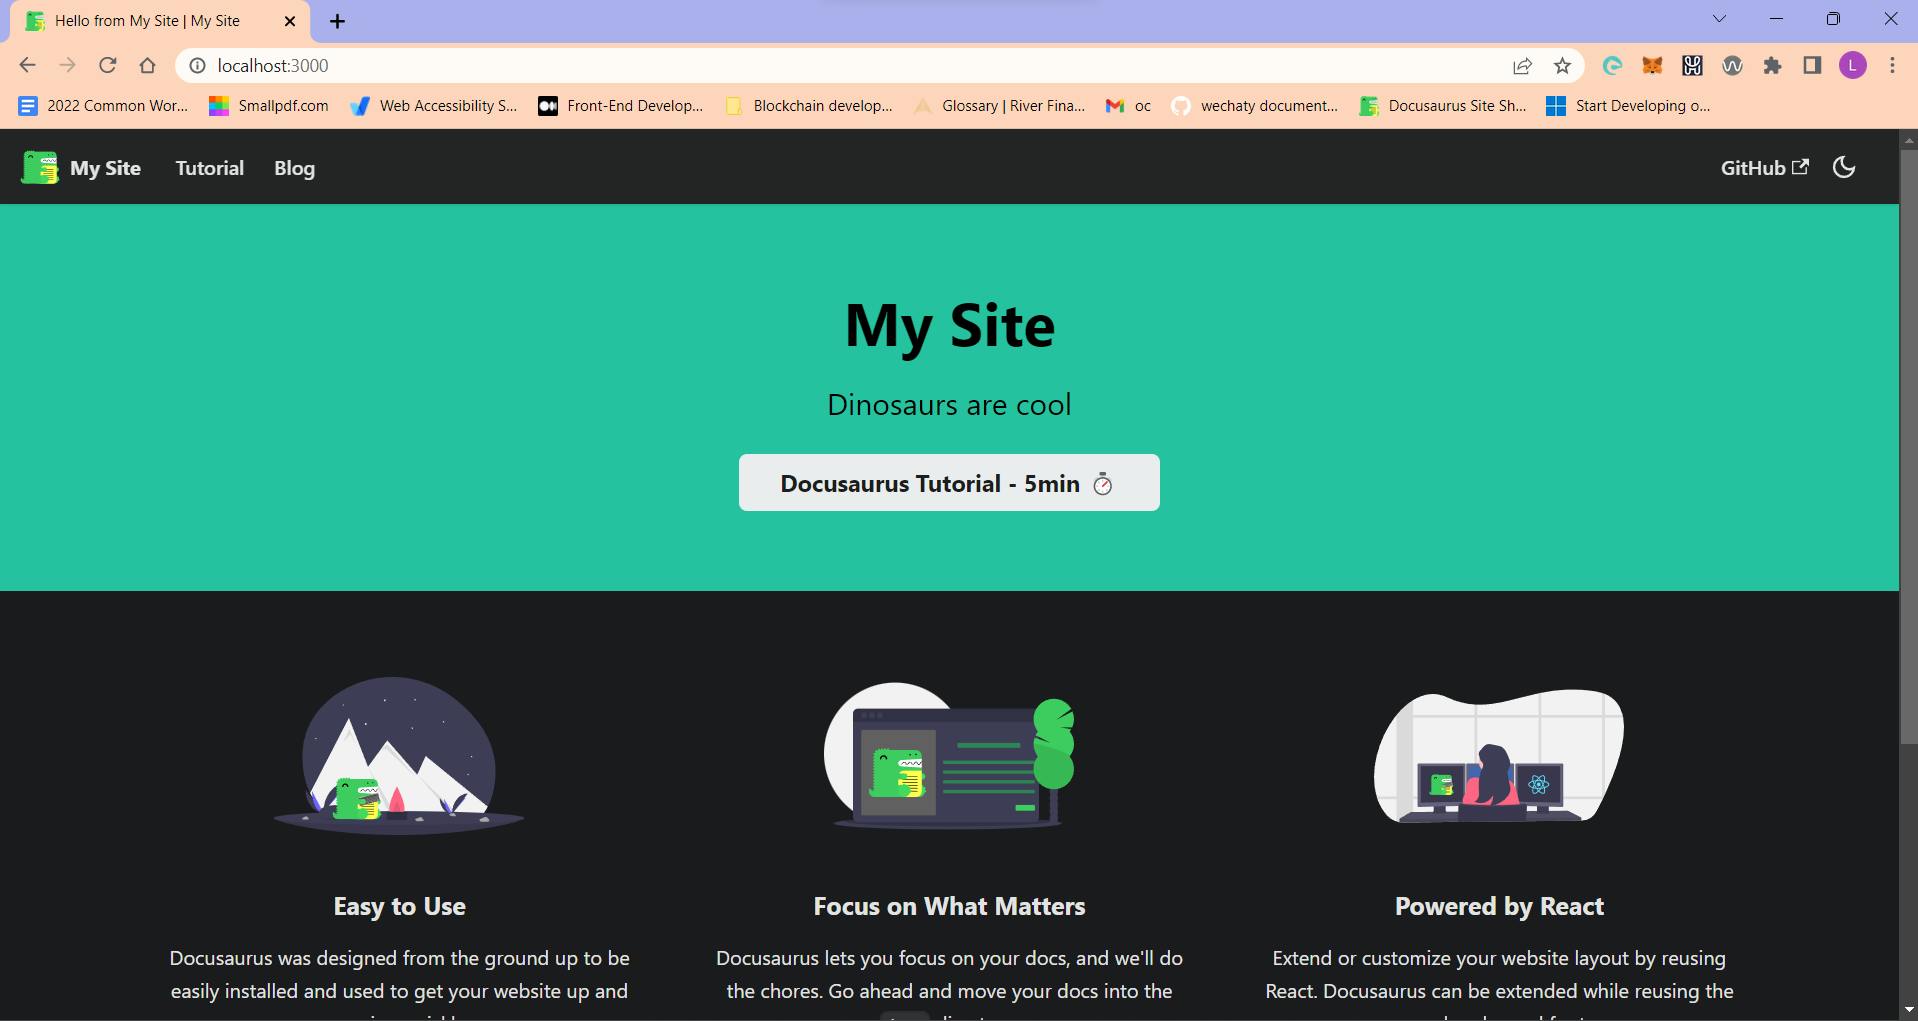
At this point, you have successfully created a new Docusaurus project. The project structure will include several folders, such as docs (for documentation content), src (for source code and customizations), and the configuration file; docusaurus.config.js (for project configuration). You can now proceed to customize the project, add documentation content, and explore the various features and functionalities that Docusaurus offers. But before you do that, you should familiarize yourself with the project you just created.
Getting familiar with the project structure
Understanding the purpose of each file and folder will help you navigate and customize your Docusaurus project easily and effectively. The newly created project's structure should look like this:
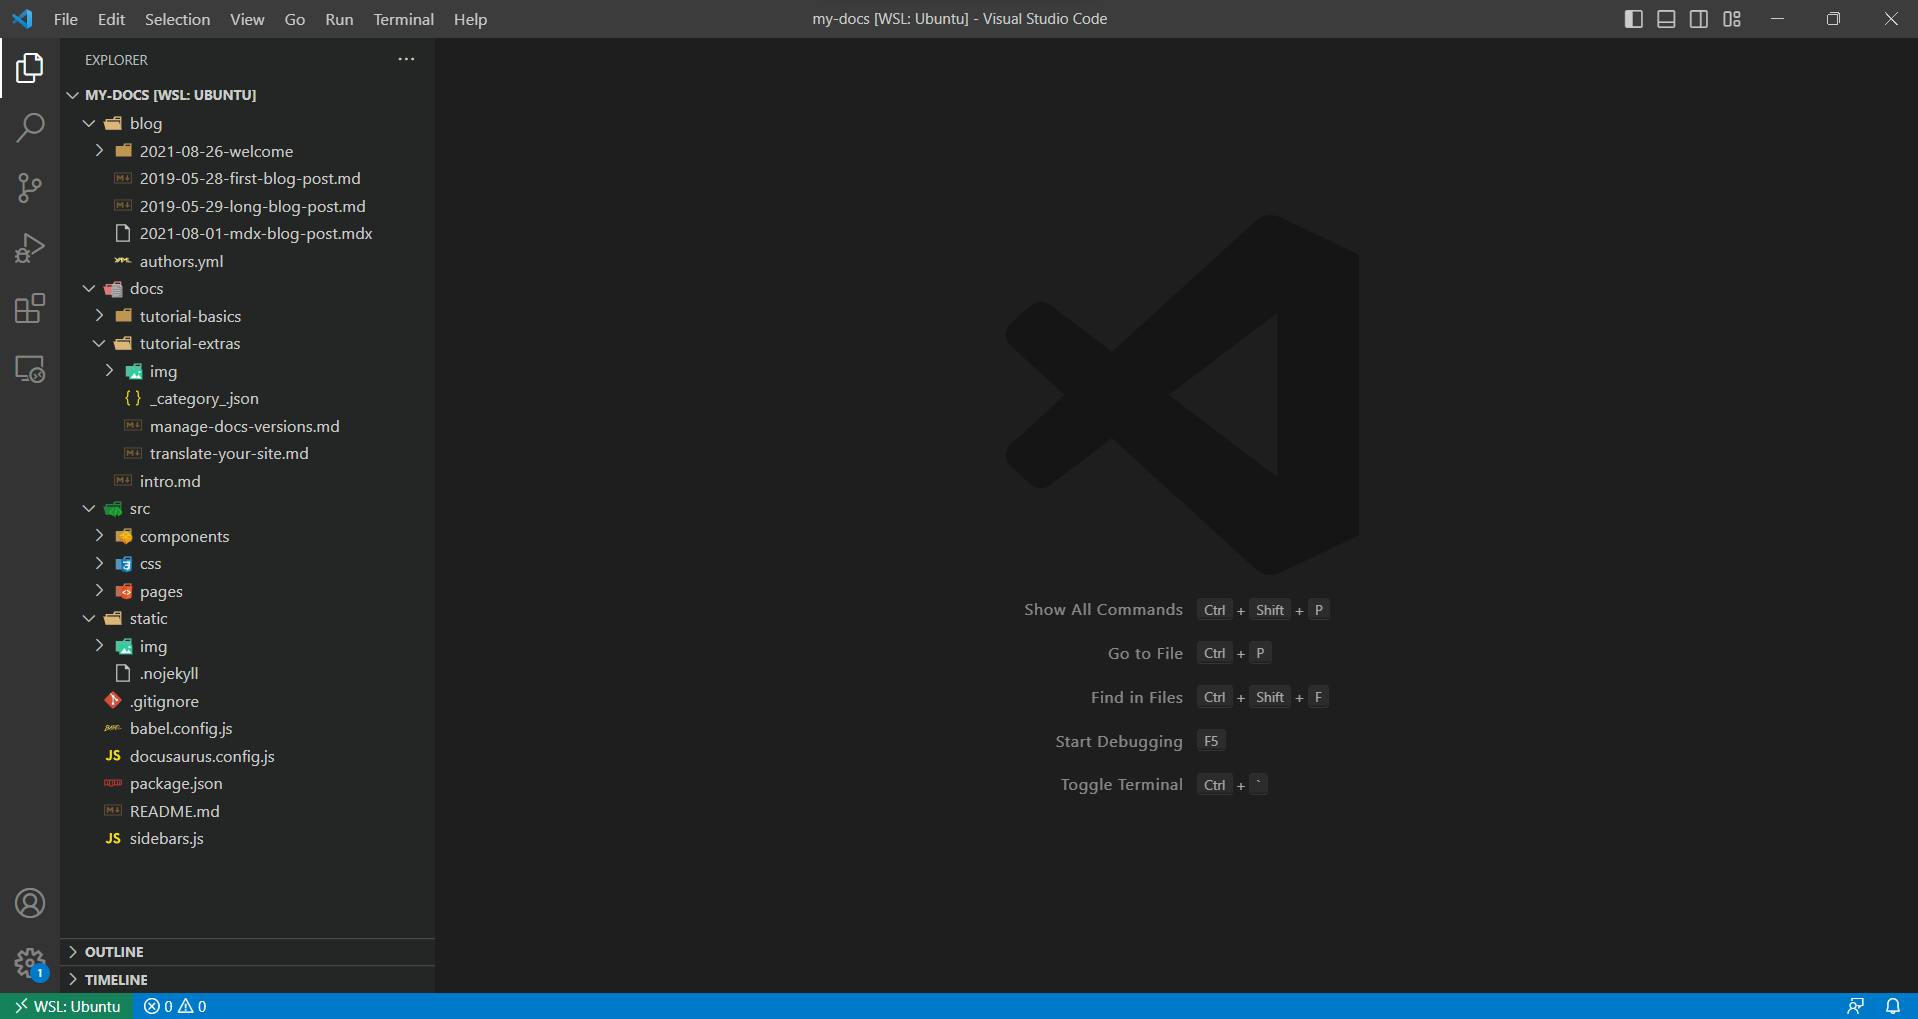
Here's an overview of the files and folders in the above structure:
/blogfolder: This folder is the designated space for managing and organizing the blog posts within your documentation website. The sub-folders within it are where you can store individual blog directories (which will contain blog posts written in Markdown). You can also store metadata files and any associated assets in this folder. This folder is not essential and can be deleted if the blog plugin is disabled./docsfolder: This folder contains the documentation content of your project. It can be organized into sub-folders, representing different sections, with Markdown files representing the pages contained in each section. You can create and edit Markdown files here to add or update your documentation content. Each page on the website can be located in the/docsfolder by using the corresponding section name and page name on the website. When creating your documentation, it is good practice to name the sections on your documentation website in alignment with the associated files. This practice helps to maintain a logical and organized structure, making it easier for users, especially open-source contributors, to locate the specific page they want./srcfolder: This folder is where you can put your source code and any additional files for your Docusaurus project, such as JavaScript files, CSS stylesheets, custom React components, or other assets that you want to include in your website./docusaurus.config.jsfile: This file is the main configuration file for your Docusaurus project. It is where you can define the settings and configurations for your documentation website. Some key configurations that can be made in this file include specifying the site title, URL, favicon, logo, theme options, and plugin configurations./staticfolder: This folder is used to store static assets that you want to include in your documentation website, such as images, fonts, or any other files that don't require processing or compilation./package.jsonfile: This file contains information about the version of Docusaurus being used, scripts, other configuration details, as well as the project's dependencies, such as React and other necessary packages. It also allows you to include custom scripts that you can execute using npm or yarn commands.sidebars.jsfile: This is where you define the structure of the sections and pages that appear in the sidebar.
Conclusion
In this second part of our tutorial, we delved into the process of setting up the development environment for your Docusaurus project and creating a new project. Now that your development environment is set, and you have a clear understanding of the project structure, let's move on to Part 3, where we will explore customization options and how to style your Docusaurus documentation website.